Our final part.
We are now going to add authentication and deploy our application to Amplify with a hosting service.
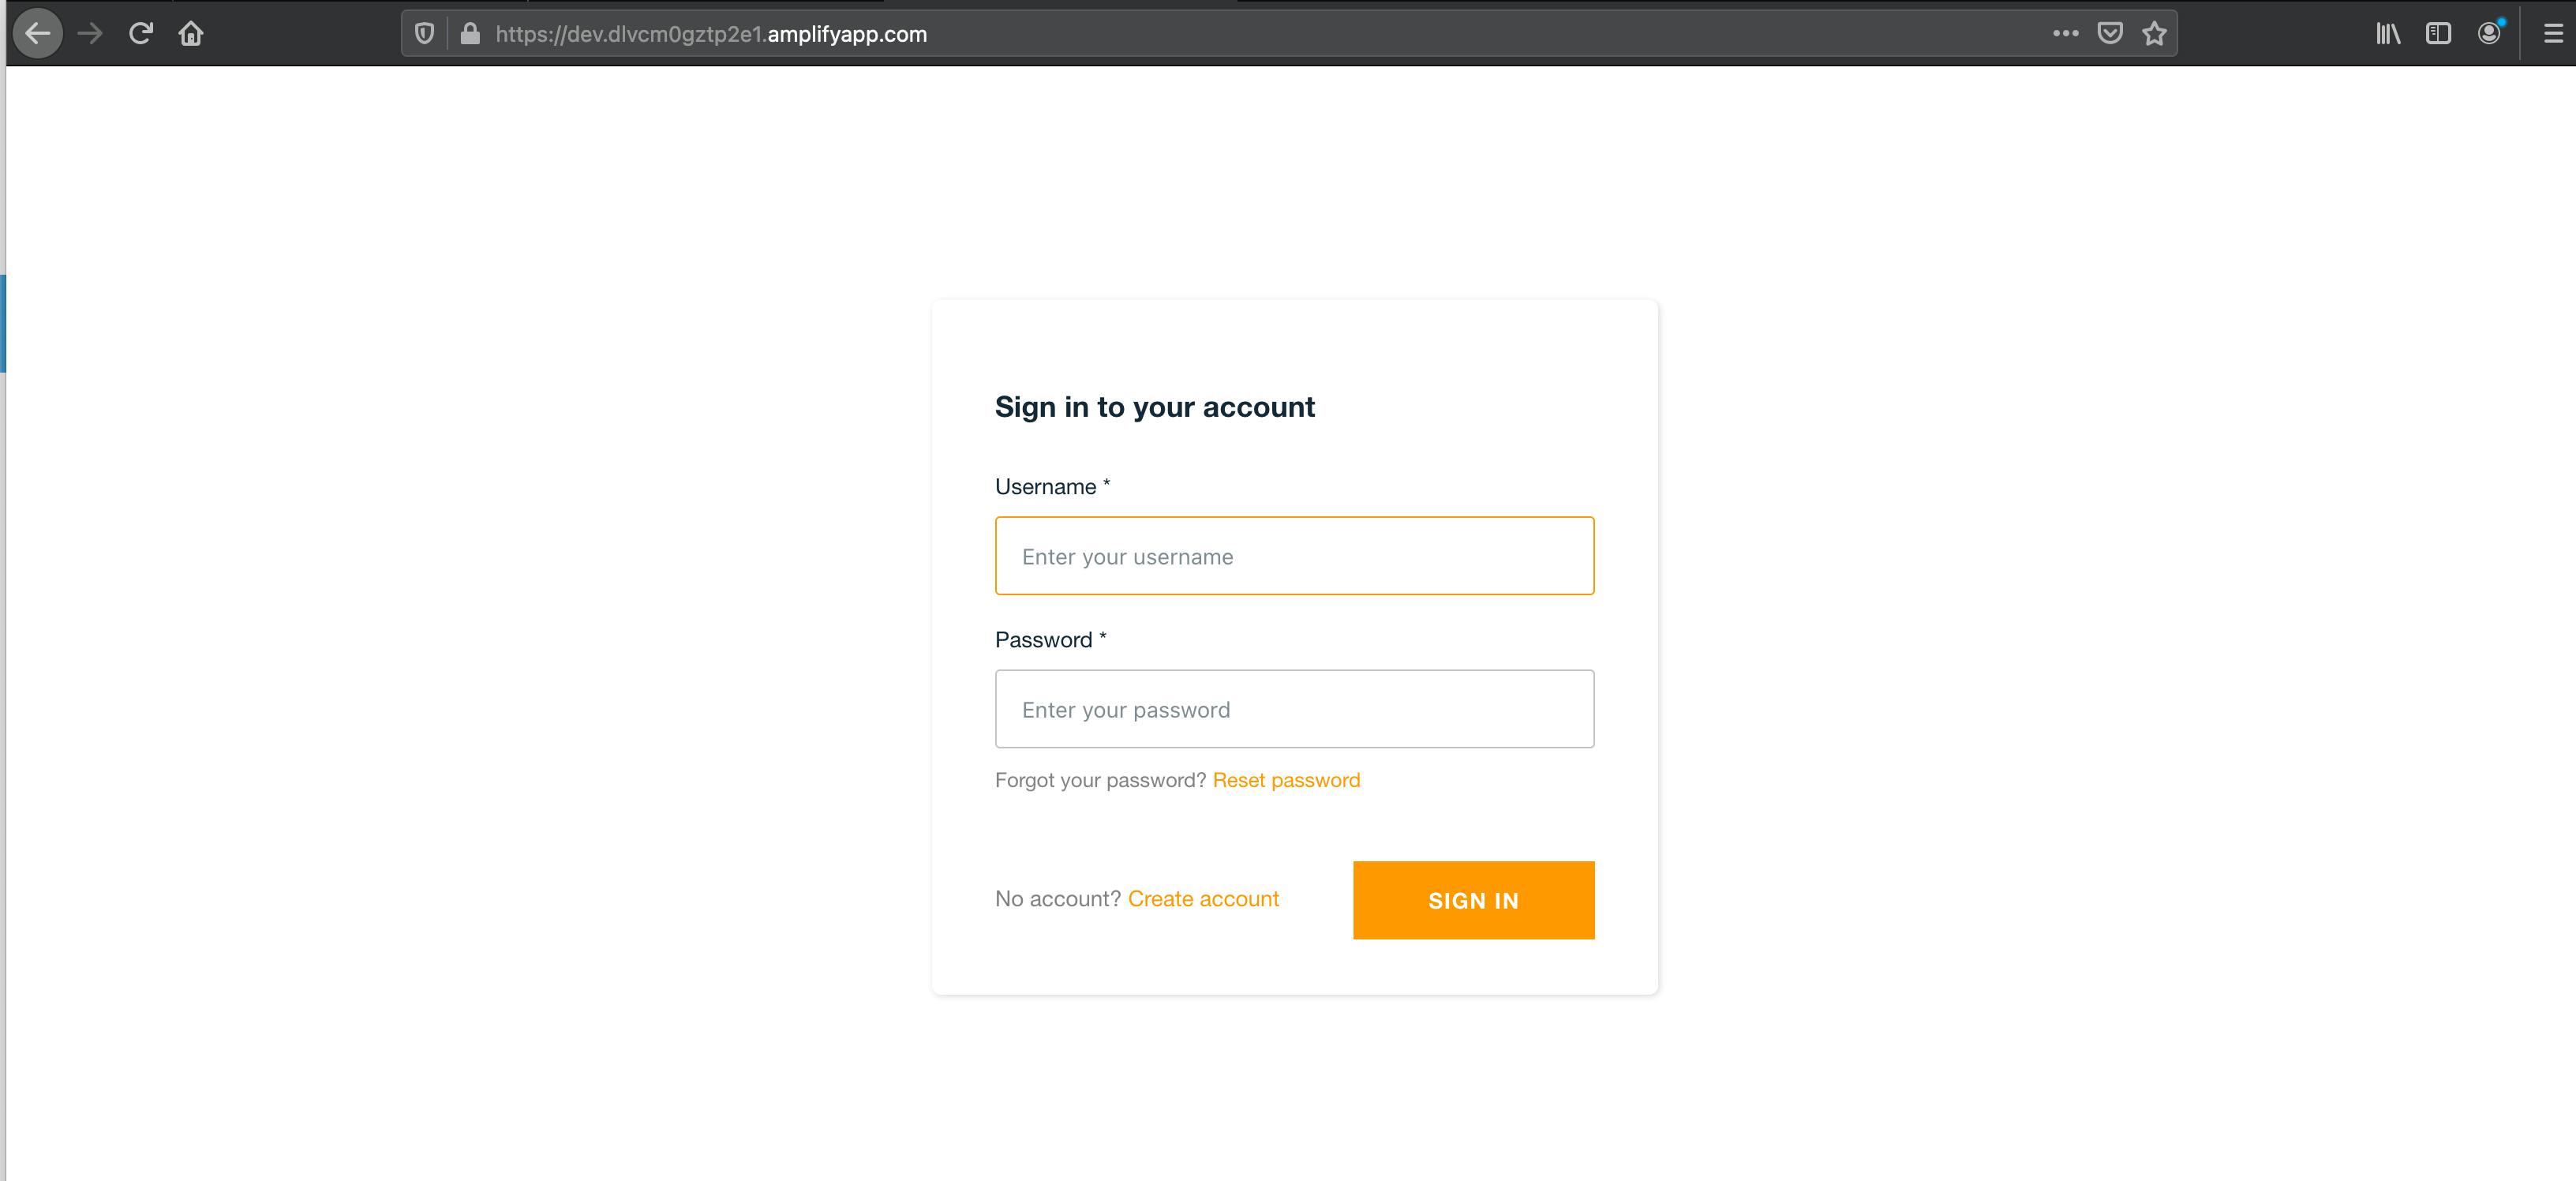
- To start, let us first enable authentication. To do so just need to do
amplify add auth
adrianlee@ladrian-a02 amplify_ml_app>  amplify add auth

? Do you want to use default authentication and security configuration? **Default** configuration
? How do you want users to be able to sign in when using your Cognito User Pool? **Email**
? Do you want to configure advanced settings? **No, I am done**.
- Next, we are going to ad just our code to add in the authentication framework. In your
App.Js, import the library and configure our app to use authentication
import { withAuthenticator } from '@aws-amplify/ui-react'
....
export default withAuthenticator(App);
- We are finally ready to push our application and create a hosting service and finally publish our application
adrianlee@ladrian-a02 amplify_ml_app % **amplify add hosting**
? Select the plugin module to execute **Hosting with Amplify Console (Managed hosting with custom domains, Continuous deployment)**
? Choose a type **Manual deployment**

You can now publish your app using the following command:

Command: amplify publish

adrianlee@ladrian-a02 amplify_ml_app % amplify publish
✔ Successfully pulled backend environment dev from the cloud.

Current Environment: dev

| Category    | Resource name         | Operation | Provider plugin   |
| ----------- | --------------------- | --------- | ----------------- |
| Hosting     | amplifyhosting        | Create    | awscloudformation |
| Auth        | amplifymlapp6eca37bf  | No Change | awscloudformation |
| Predictions | identifyText8e49a7b6  | No Change | awscloudformation |
| Predictions | interpretText82354799 | No Change | awscloudformation |
| Api         | savetext              | No Change | awscloudformation |
| Storage     | images                | No Change | awscloudformation |
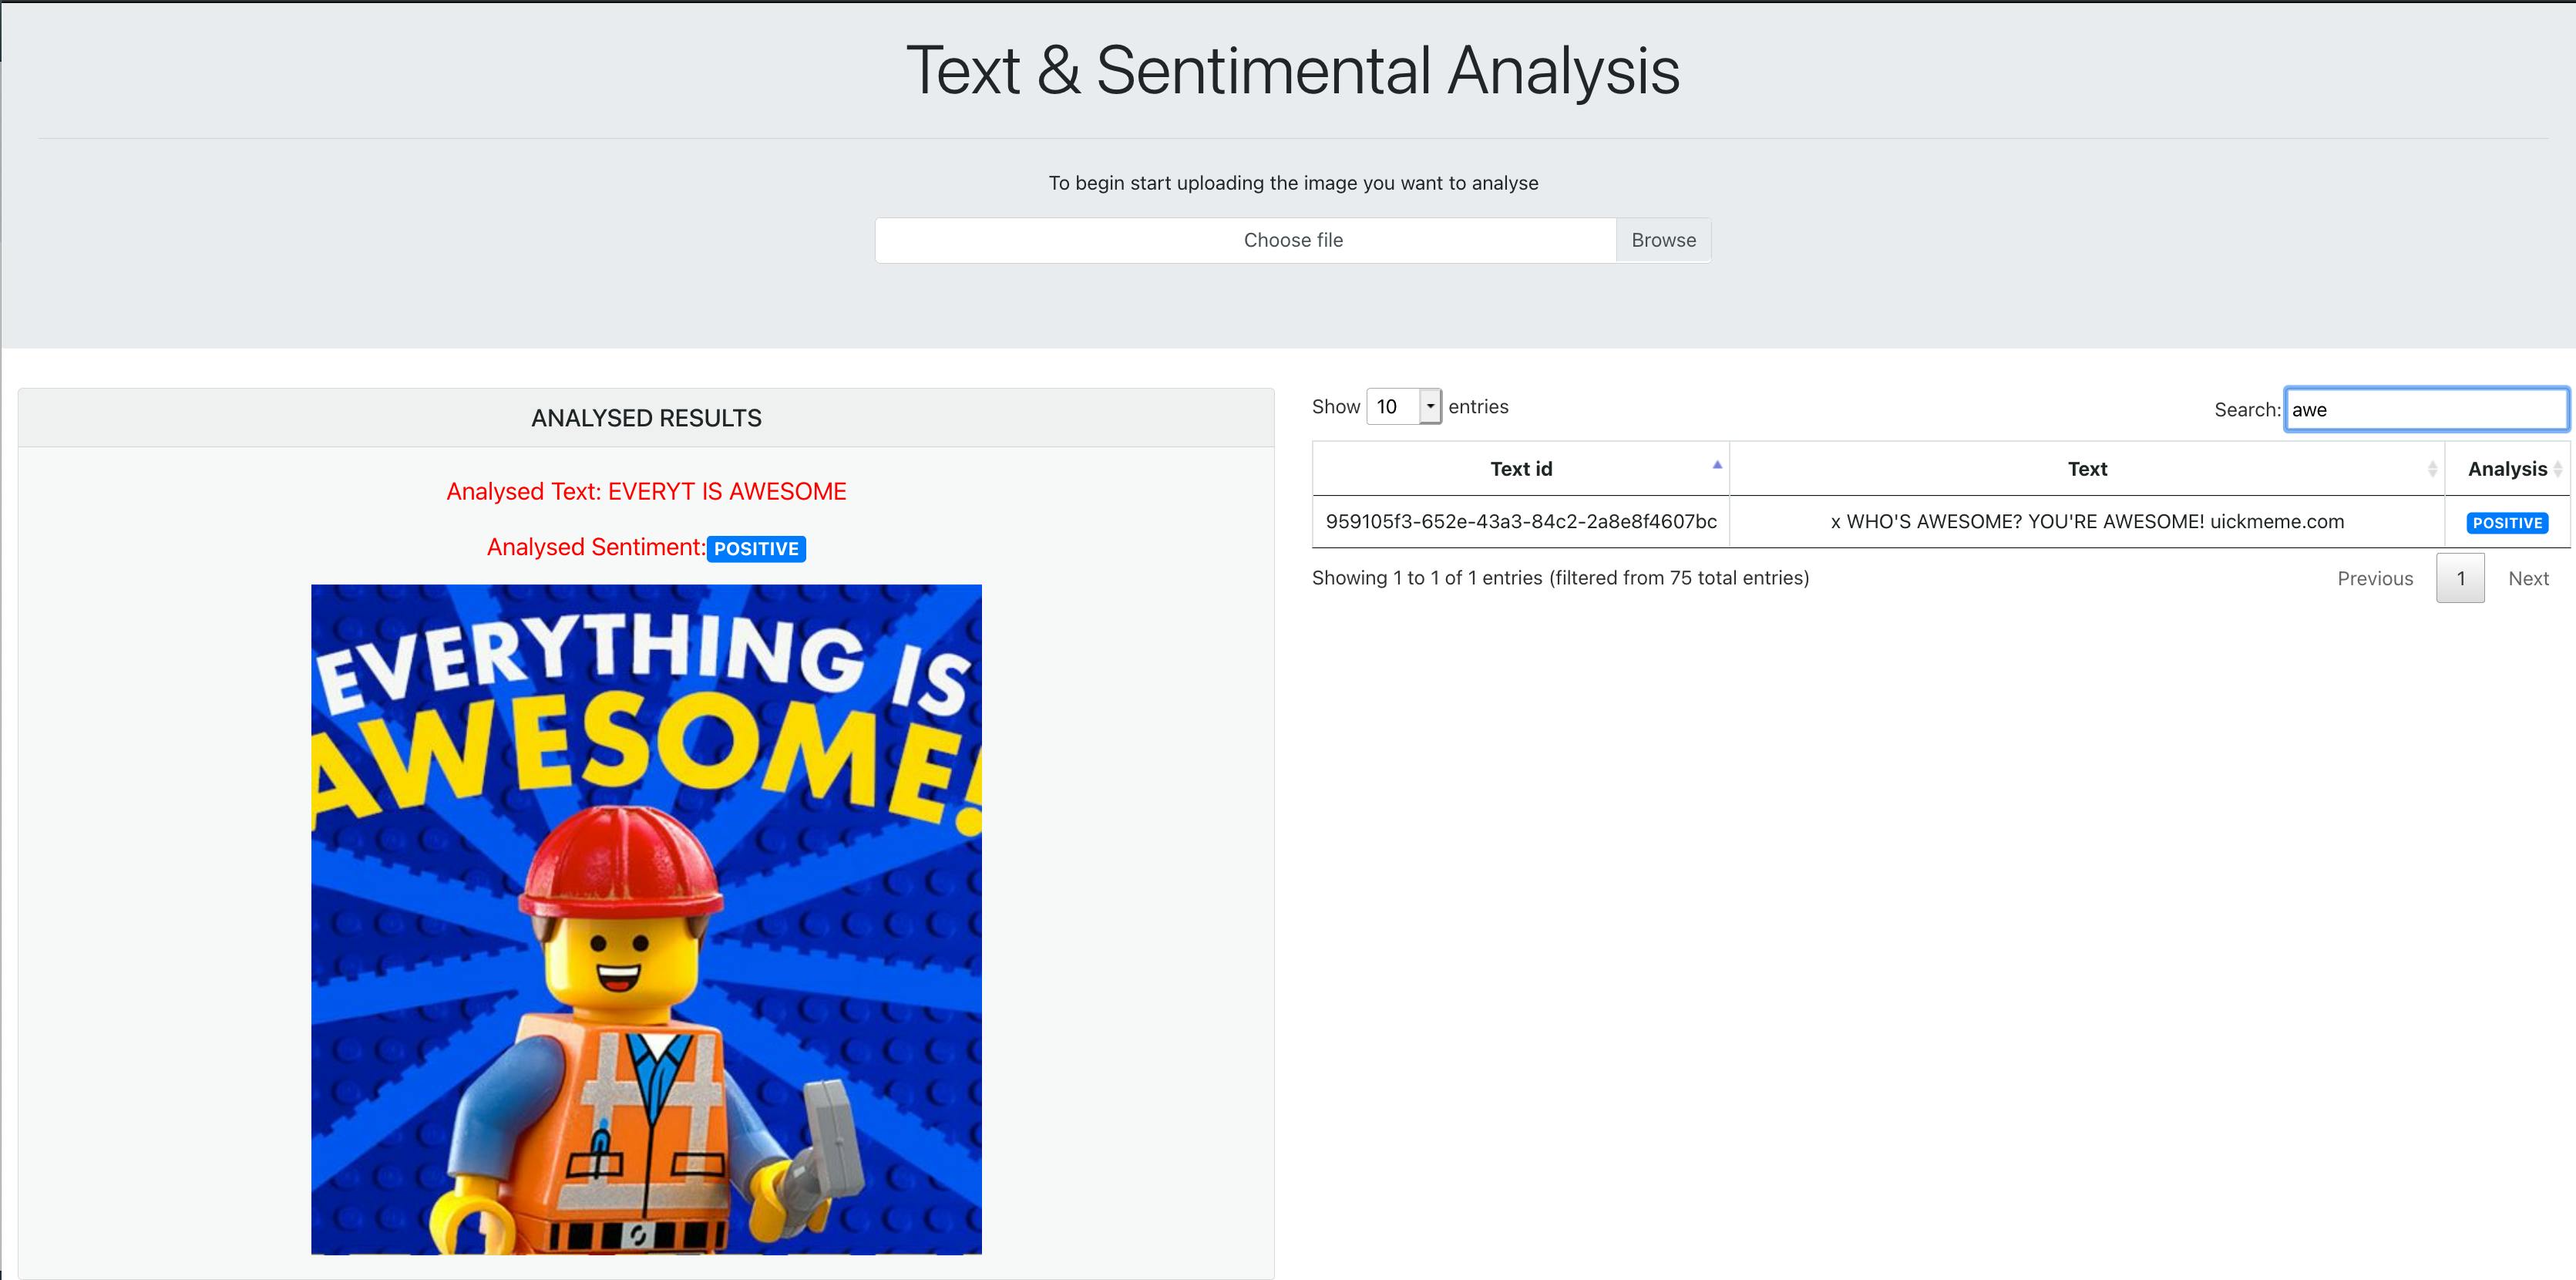
- Our application is now live!

- And in the words of our trusty Emmet from The Lego Movie

